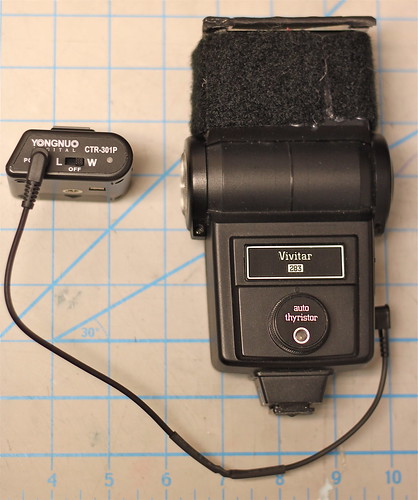
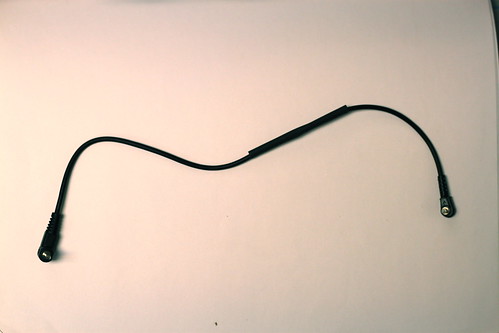
This week’s post is both late (I usually post on Friday) and less complete than I’d hoped. However, here it is: a DIY Vivitar to 2.5mm sync cable for the CTR-301p flash triggers.
I bought a new set of flash triggers several months ago, the Yongnuo CTR-301p. They are a cheap set of triggers, and they ship directly from Hong Kong, which means it takes close to a month to receive them. However, I was originally sent the wrong style of triggers – I need a Canon-specific transmitter, and I was sent a Sony/Minolta version.
After some haggling, I was able to re-order the correct item at a reduced price, and was hoping they would finally arrive this week in time for this 52 things post. Alas, they did not, but I was able to make some progress toward being able to use them as I intend. My main flashes are the Vivitar 285 and 283, both of which are quite old and have a high trigger voltage. I’ve heard conflicting reports about how much voltage the CTR-301p triggers are built to handle – some reports say less than 12V, and some say they’re safe up to 300V. That’s a big difference, and I’d prefer not to fry my new triggers, so I built a DIY Vivitar-to-2.5mm cable instead of using the hotshoe connection.
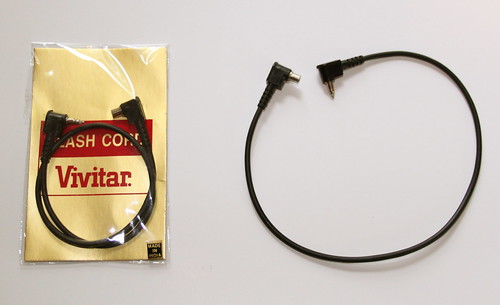
Here’s a standard Vivitar to PC sync cable. The Vivitar side is a weird, proprietary connector, which is what necessitated making a custom cable.
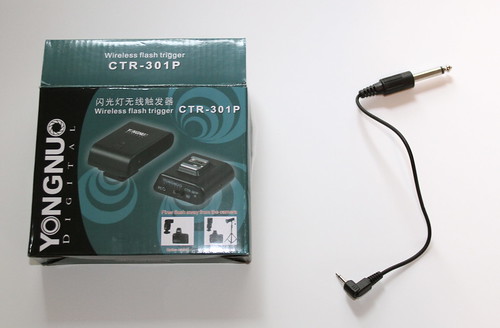
The CTR-301p comes with this cable – a short 2.5mm to 1/4″ cable, where the 2.5mm side plugs into the CTR-301p receiver.
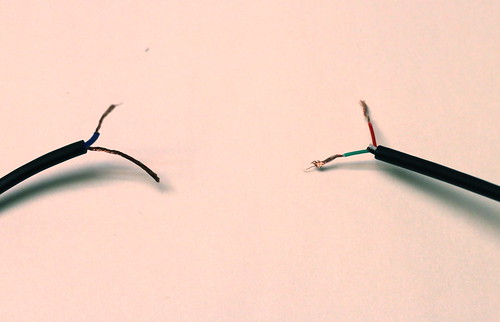
In order to make this, I basically hacked the ends I didn’t want off both cables, and soldered them both together.
The one somewhat unusual part of making this cable is that the mono 2.5mm cable had 4 wires for some reason – usually this would only have 2 wires. I took a lucky guess that the green wire was ground, and the red wire was hot, and it worked out the first time – the green wire from the 2.5mm cable connected to the bare ground wire from the Vivitar cable, and the red wire from the 2.5mm cable connected to the blue wire from the Vivitar cable.
Once it was done, all that was left was to slide some heatshrink tubing over the whole thing to make it nice and tidy:
Since I don’t have the proper Canon transmitter yet, I wasn’t able to test this on the camera, but luckily the CTR-301p’s transmitter has a manual test button, and it worked properly, popping the flash every time I pushed the test button. Here’s looking forward to getting the correct version soon!

