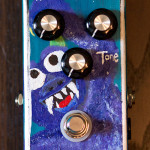
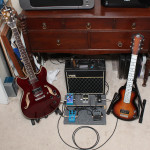
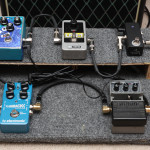
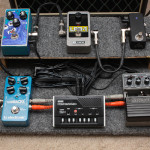
Pedalboard update!

Since I’ve been stalled on working on my new album’s worth of material for a while (over a year, actually!), I thought it would be fun to get inspiration by pulling some gear together in a new way and adding a few new pieces together. Hence, a new pedalboard for guitar!

Here’s a video overview, and below that are some detail photos of the new setup.


Pedalboard Photo Gallery

Click photos for larger view.


recent DIY/repair projects: guitar pedals, Bliptronic 5000

Here are some recent projects I’ve been working on. After receiving a Big Muff guitar pedal from my cousin Jamie (from The Press Delete), I started thinking more about building up a pedalboard again for my guitar playing. I’ve been quite happy with the Line 6 PodXT Live, but there’s something special about guitar pedals: they typically do one thing, and do it well.

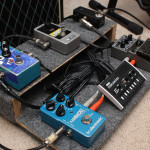
pedalboard before repairs/positioning

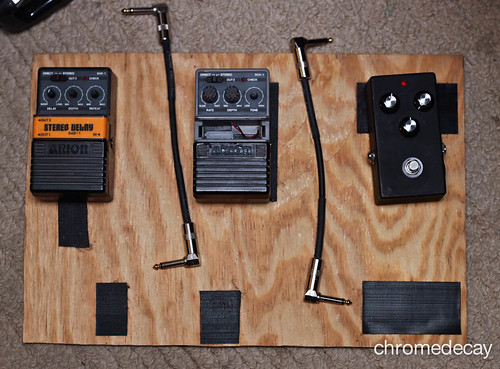
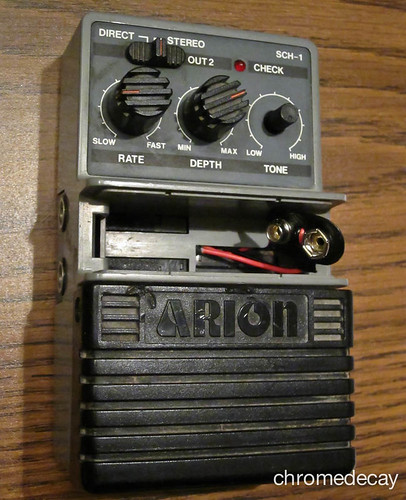
As such, I got out my case of unused guitar pedals and started going through them. I ended up selling one (an old graphic EQ pedal that I never used any more) and looked more closely at the other two. I have 3 pedals currently: the Big Muff clone, an Arion SAD-1 analog delay pedal, and an Arion SCH-1 chorus pedal. Combined with my practice amp (a Vox Pathfinder 15R), I’d have a fuzztone, chorus, delay, tremolo (built into the amp, and quite nice!) and spring reverb (also built into the amp, and also really nice!). This suits my style of playing pretty well, so I figured it was worth doing a bit of repair work to get the two Arion pedals in good shape.

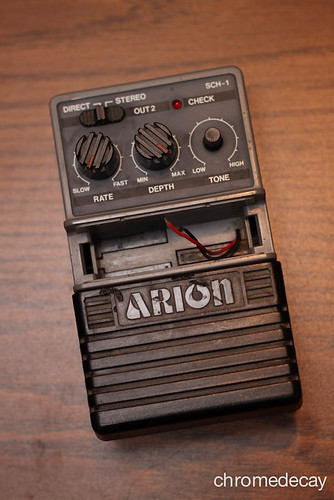
Arion SCH-1 analog delay: needed new 9V clip
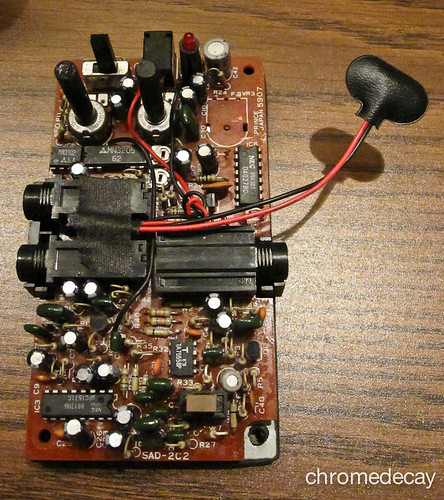
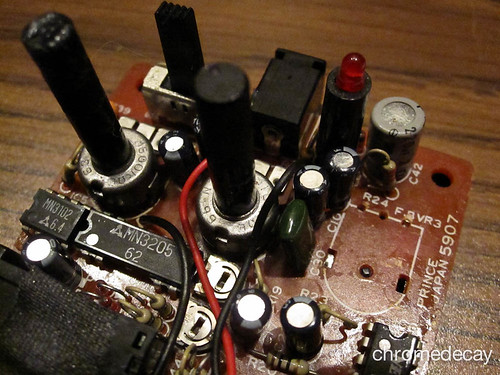
Arion SCH-1 analog chorus, in need of a new 9V battery clip

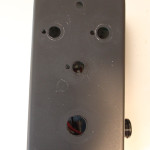
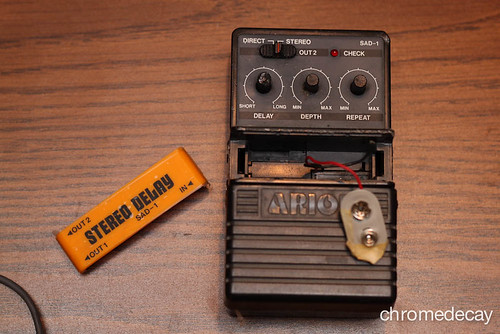
Arion SAD-1 analog delay: before repair
Arion SAD-1 analog delay, with a flaky “repeat” potentiometer and bad 9V battery clip

Both Arion pedals needed new 9V battery clips, which is an easy repair – snip off the old ends, trim a new Radio Shack 9V clip to size, twist the wires together, and solder. Easily done:
Arion SCH-1 analog chorus: 9V clip fixed!

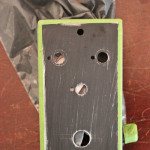
I also had to remove the bad potentiometer from the SAD-1 analog delay pedal, so I did that while repairing the 9V clip:

Arion SAD-1 analog delay: 9V clip fixed, bad potentiometer removed

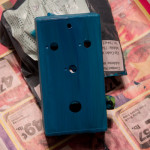
I now have to locate a source for a new potentiometer that fits the SAD-1, which may prove difficult. Worst case, I end up getting a new enclosure for the pedal and rehousing it completely. That wouldn’t be all bad, as the existing enclosure is plastic, but it would mean spending more money and time on this little guy. The analog delay is really nice, though, so I think it will be worth it in the end.

Arion SAD-1 analog delay: bad potentiometer removed

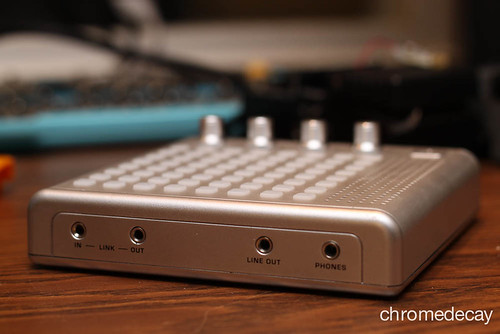
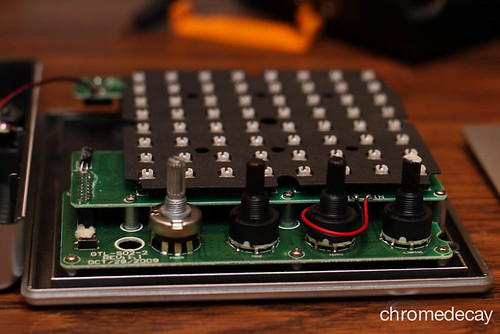
I also started thinking about the Bliptronic 5000 music box (see related 52 things posts “42/52: Bliptronic 5000!” and “43/52: new video – ‘a bliptronic day’“). I like it a lot, but the 1/8″ miniplug output means having to use a cable with an adapter to change it to 1/4″ if I’m going to plug it into a mixer or my audio interface. I think having a 1/4” output jack instead might be nice, so I opened it up to see how feasible it is:

bliptronic 5000: side view

bliptronic 5000: internals

Verdict? It’s incredibly tight in there. I might be able to squeeze a 1/4″ jack in there, but it’s going to be tight. I may have to re-route the headphone output if I do put one in. I’m still undecided about whether or not I’ll pursue that. Lots of other mods are possible, so I may wait before tackling a more ambitious project with the bliptronic and roll the 1/4″ output into a larger project.

52 things wrap-up: a year of projects in retrospect

One year ago today, I posted the first in my year-long series of projects called 52 things. Today, I want to spent a little time reflecting on that experience.

During the year, I accomplished quite a bit. For starters, I made some new chromedecay and solo releases available (8/52, 9/52,10/52). This was a big accomplishment, as I find it really rewarding to work on music, but often quite hard to do the hard work of finishing it and making it available.

Along with putting out some finished products, I also worked on a decent bit of new music (5/52, 7/52, 14/52, 32/52, and more).

As part of this project, I spoke at the Maker Faire Detroit’s Ignite session. This was a nice mid-year chance to reflect on the project and talk about the motivations for doing it. It was a great experience.

I didn’t set out to to this, but as I worked on more photography projects, I decided to start a new photography business! This process really helped me define what I enjoy about photography, and helped clarify my vision about what relates to chromedecay and what should be personal or commercial work. The final project this year points toward that, as I will be working on making a series of chromedecay photographic prints available in 2011.

In addition to photos, I also made some video art (39/52 and 43/52). The power of the Canon HDDSLR camera I’m shooting with makes it possible to produce HD video with small, easy-to-use equipment and that’s made the video production and editing process more enjoyable than I’ve ever experienced.

To go along with all this photography and video work, I made some DIY gear that helped me do what I wanted to do (4/52, 6/52, 16/52, 30/52).

I still didn’t get every project on the list done (witness the still half-completed DIY USB foot controller!) but that’s OK.

So, what are my plans for my personal projects and for chromedecay in 2011? Well, on a personal note I’ll be building my photography business, which has become a nice way to push myself as a photographer and hopefully make some money to cover the cost of gear and build up my independent business. I have lots of other personal projects lined up as well.

For chromedecay, several things will be the immediate focus. One thing that I touched on this year was the company7 project I’m involved in with friends of mine. Our band will be meeting weekly this year to work on new material, and if last week’s first scheduled rehearsal is any indication, it will be an extremely productive year. This is definitely pushing me in lots of directions, as I’m playing guitar, recording, doing production and electronics programming, and capturing the whole experience in photos and video. My goal is to have a finished EP released on chromedecay later in 2011.

In the more immediate future, I will be releasing a series of chromedecay photographic prints for purchase by the end of January. This is something I’d wanted to do for a long time, and with encouragement by Joshua Schnable and the last project in the series, I can now see more clearly how I want to structure it. Look for that soon.

Now, I’m off to shoot photos of The Press Delete (previous photos I’ve shot of them were week 41’s project). They are playing at the Mittenfest festival here in Ypsilanti.

Thank you for a wonderful 2010, and here’s to a great 2011!
52/52: chromedecay photo prints

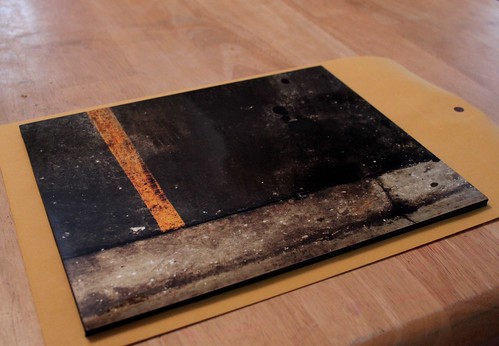
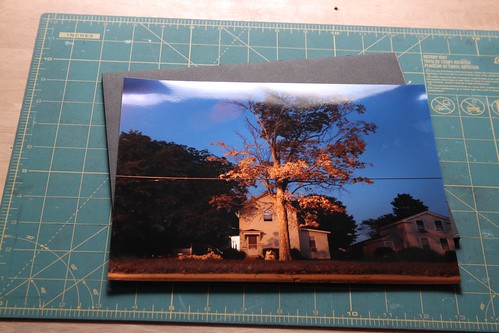
For this final week’s project, I decided to mount some photographs to give away to chromedecay friends and contributors. Here’s one of the final pieces, which is an 8×10 print mounted on black foamcore. This one’s going to Joshua Schnable as a gift.

chromedecay print: parking lot

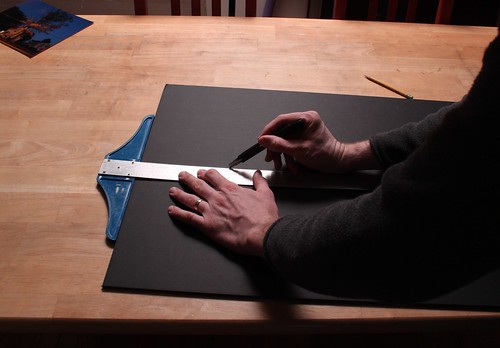
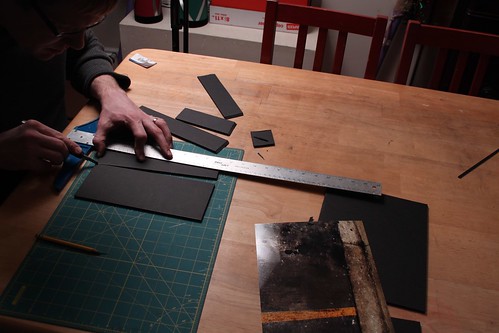
The basic pieces were pretty easy to make. I cut up black foamcore into 8×10 inch pieces, and used spray adhesive to mount the prints to the foamcore. The prints themselves are 8×10 images printed by Mpix on Kodak Endura Metallic paper.

cutting foamcore

cutting foamcore

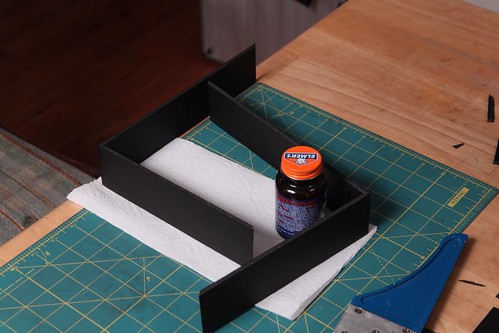
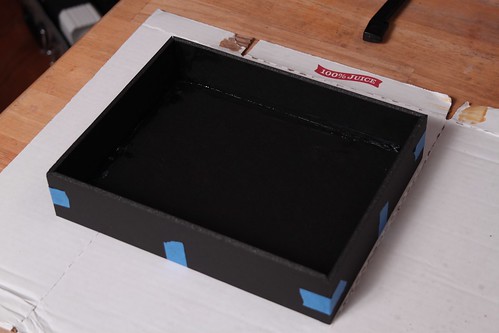
For one of the pieces, I decided to try my hand at making a foamcore standout – basically a frame built out of foamcore that would allow the piece to stand up by itself or be easily hung on a wall without needing to add mounting hardware.

getting ready to start building the standout

building the standout

building the standout

This is the cover photo from my release “The Ghost of An Idea” on EMA CCM. It’s going to Rob Theakston, who runs EMA CCM.

The Ghost of an Idea cover photo standout

I’m so pleased with how these turned out that I will be offering a range of chromedecay photographic prints for sale early in the new year. This is something that I’ve had in mind for a long time, but this project helped push it closer to reality.

This is, of course, the final project in my 52 things project. It has been an amazing year of creative projects, and my next post (going up on Saturday) will be my attempt to reflect on the year, and lay out some vision for chromedecay in 2011. Thanks for reading!

51/52: City of Lights behind-the-scenes photos

This week was the annual Christmas musical production at the church I attend, Bethesda Bible Church in Ypsilanti, MI. I played guitar and ran loops for our band (using the church music rig I posted about in week 24), and had a great time of it. There’s always downtime for the band during rehearsal, of course, so I took advantage of this time to shoot some behind-the-scenes photos.

On Tuesday evening, I only had my Casio Exilim point-and-shoot with me. It’s a decent enough camera (and the high-speed video mode is amazing) but it’s not great in low light. I figured I would make the most of it, and set the camera to its highest ISO value and black-and-white mode to get a grainy black-and-white film look. I was really pleased with how the photos turned out!

I particularly liked how this photo of Ron, our keyboard player, turned out – the spotlight was shining right into him, providing a great rim light all around him.

For Thursday’s dress rehearsal, I brought my main camera with an assortment of lenses and shot more typical documentary-style stuff in full color and good resolution. It was a nice counterpoint to the grainy b&w of the first shoot.

50/52: a day of snow photos

This week’s project was a little light in terms of what I accomplished. As such, this writeup is very much about process, not as much about results.

This was an extremely busy week for me at work and in my personal life, so I knew I would not have any time during the week to work on this week’s project. One thing that has come into even sharper focus during this year of projects is how much I’m influenced artistically by the seasons and the weather (witness: “Raindays“, “6 strings for a winter’s day“, “autumn dsp” (from “Live at Leopold Bros“), etc. I saw the weather had forecast snow for Friday morning, however, so I had great thoughts of getting up early and getting some snow photos. It didn’t happen, so my project time got pushed to today (Sunday).

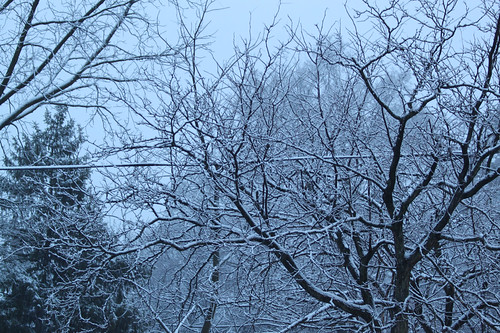
I started out this morning with shooting some photos in the early morning light with the Canon 70-300 IS lens. I wanted to shoot handheld, and the IS (Image Stabilization) lets me do that in lower light conditions better than my other lenses. I also thought shooting with a longer lens than I would typically choose would be a nice challenge. I got a few interesting detail photos, and I really like the blue-white quality of light on a snowy morning when it’s still overcast. Here are a few of those photos:

50/52: a day of snow

50/52: a day of snow

50/52: a day of snow

Later on in the afternoon, I took out my Yashica 55mm ML Macro lens, with thoughts of shooting some snowflake or icicle macro photos. This is a tricky lens for a couple of reasons. As with all macro setups, it benefits from having a very stable tripod since you’re dealing with such fine detail and short distances. I do not have a very stable tripod, although it works OK most of the time. Also, this lens meters about 2-3 stops overexposed when using my camera’s built-in light meter, so it’s always a guessing game, changing the aperture, using the Live View to compose and focus, and hoping for the best. I never felt like I truly got anything worth looking at, but here’s an example anyway.

50/52: a day of snow

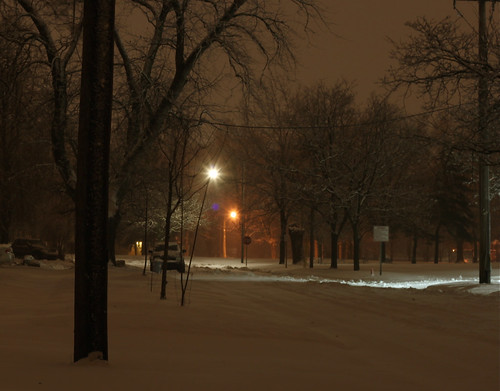
As I was reviewing the images to upload and post, I found I really didn’t think any of them were particularly noteworthy, so I decided to go out and do one more session of shooting. By then, it was dark, and the temperature had dropped. I briefly considered using my off-camera flash setup, but the idea of hauling a flash, lightstand and potentially light modifiers (like an umbrella) in the cold and dark made me go simple: I put the camera on the tripod, and got ready to shoot some long exposures.

I’ve done a lot of long exposure work over the past few years, and I find it a comfort zone. It really simplifies things in many ways: I know I have to focus most of all on composition and choosing an appropriate depth of field, since the exposure time will be dictated by how much light I need to let in to make a good exposure.

Finally, I felt like I made a few worthwhile images! It took all day, and I reverted to a safe, known technique, but I’m satisfied. My favorite image of the day is the last one on the page.

50/52: a day of snow

50/52: a day of snow

50/52: a day of snow

49/52: Help-Portrait

This past week’s project is overdue as concerns posting about it. On December 4, 2010, I participated in the Ann Arbor area’s Help-Portrait event. It’s hard to post much about an event like this, as it’s quite personal and part of the ideals include not sharing images produced. Even posting about it has been delayed due to needing a chance to think through how to share about it.

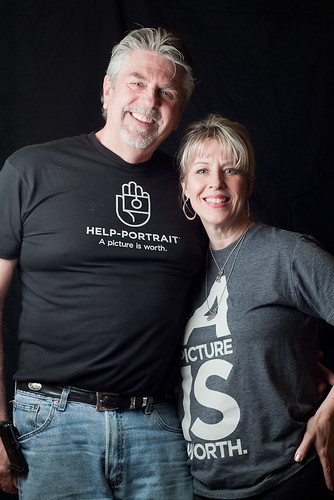
I was part of an amazing team. Here are a couple photos of our crew:

Rod and Jill
Rod and Jill Love are a husband-wife team. Jill was the main organizer behind the event, and Rod gave a ton of help the day of the event.

Chris
Chris Clements is a super talented photographer from Ann Arbor. We shared lots of talk and enthusiasm about all areas of photography, from lighting gear and techniques to processing styles and more.

In the end, I simply ask that you check out the Help-Portrait site and consider what you could do to help someone else out, whether it’s through your art or something else.

47/52: trying out Lightroom 3

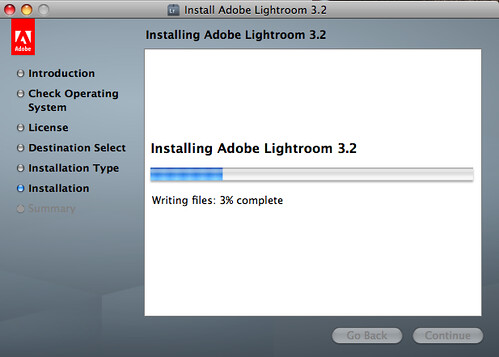
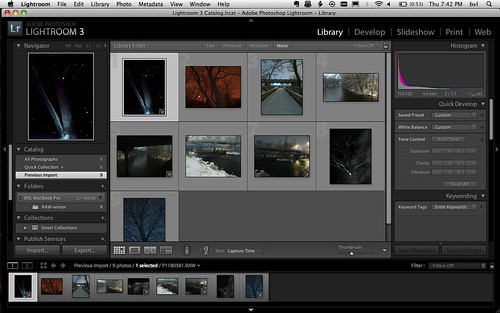
This week’s project was pretty straightforward. I’ve been interested in trying out Adobe Lightroom 3 for a while, and this week I downloaded and installed the free 30-day trial in order to put it through its paces and try it out.

47/52: Lightroom 3

I have been using iPhoto for many, many years as my photo library software, and overall I’m quite pleased with it. However, as I continue to build up my library of photos, iPhoto becomes a less viable option. In large part, this is because all your photos have to be saved on your computer’s internal drive – there’s no way to have part of your library on your internal drive and part of it on an external hard drive. Because I use a laptop, this means I’m perpetually crunched for drive space since my photo library is at least 100GB by itself, not to mention my music and video work.

47/52: Lightroom 3

One thing that became immediately apparent upon installing Lightroom 3 is that I would have to spend some time getting used to its paradigm. The interface is somewhat familiar since I use Photoshop CS3, but there’s a lot that’s different. However, I started to dive in and figure it out.

working in Adobe Lightroom 3

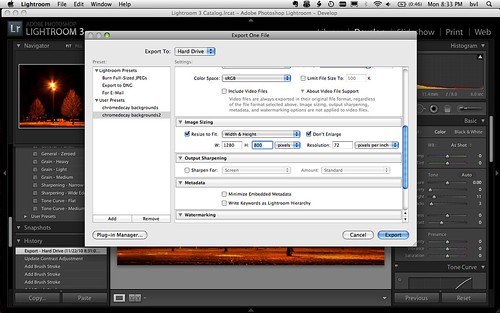
I quickly began to enjoy the way that I was able to unearth old photos that I’d taken but never seriously considered as usable before – the cataloging features of Lightroom really shine. I’m still getting used to the editing controls, but the ability to quickly switch from Lightroom into Photoshop CS3 and have edits in Photoshop automatically show up in a new version in Lightroom is pretty great. The ability to export with a watermark automatically added is also wonderful – saves some tedious work in Photoshop.

47/52: Lightroom 3

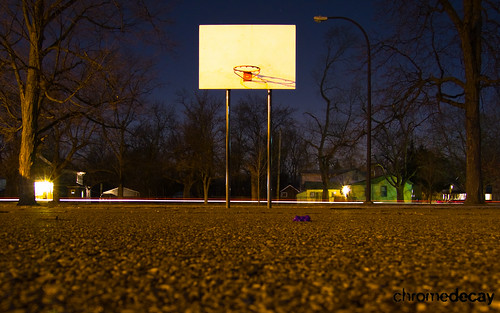
To finish it off, here’s a new background image I made with a photo I shot last winter. The cropping, toning, and watermarking with the chromedecay logo were all done in Lightroom 3. Click below for the full size (1280 x 800) on Flickr.

47/52: chromedecay background produced in Lightroom 3

46/52: harmonic study revisited (with iPad & TouchOSC)

I’ve used many tools and made lots of music over the years. This week’s project was a chance to merge the old and the new. One of my first “big” pieces of music was a piece entitled “harmonic study 1.3″, which was the B side of my City Centre Offices 7” release “Tones (for Sarah)”. I made harmonic study 1.3 using a PC with AudioMulch software, and its 10 harmonics device.

This week I decided to play around again with the idea of a purely harmonics-based piece, using the iPad and TouchOSC to create a custom control interface that would let me play the piece like an instrument. Audio and video below:

46/52: harmonic study redux – iPad/TouchOSC overview from chromedecay on Vimeo.

46/52: harmonic study redux by billvanloo

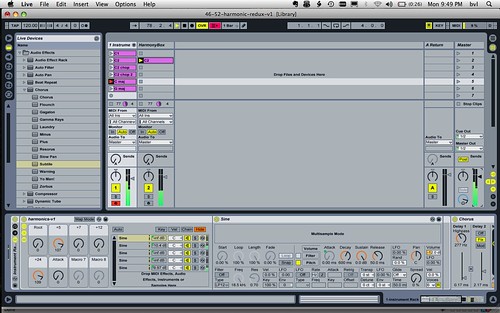
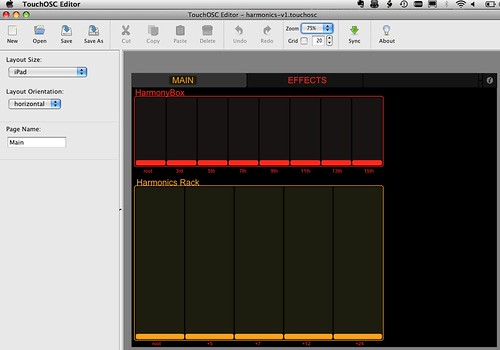
To create this, I used the TouchOSC app on an iPad to control a rack I built in Ableton Live, and aslo an instance of the HarmonyBox plugin.

46/52: Ableton Live - Harmonic Study Redux

46/52: TouchOSC Editor with Harmonic Study Redux layout