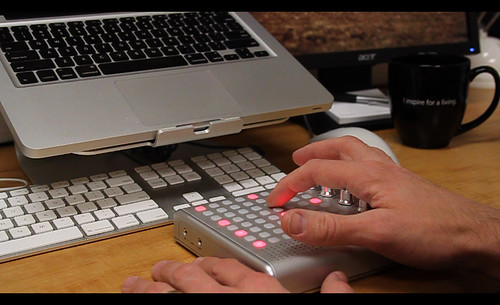
43/52: new video – “a bliptronic day”

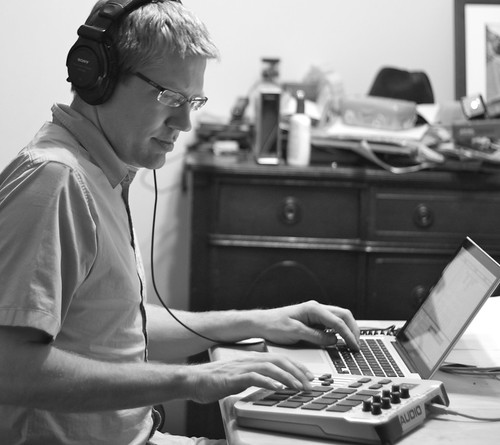
I realized something partway through last week’s project with the Bliptronic 5000. One of the things that makes the Bliptronic such a fun musical toy is the fact that you can take it everywhere, thanks to its built-in speaker. Within a few days of having it, I’d used it in my studio, in the living room sitting on the piano, and in the dining room while playing guitar. Therefore, I decided to make week 43’s project a video that showed me using the Bliptronic throughout the day in the normal places I go.

43/52: a bliptronic day from chromedecay on Vimeo.

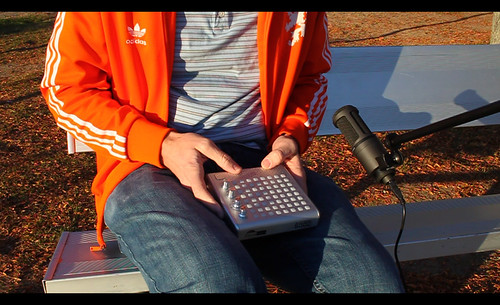
I started out on a beautiful, crisp autumn morning, with just the Bliptronic and a bench.

43/52: a bliptronic day, video still 1

During my late-morning coffee break, I set up the Bliptronic on my desk and played for a few minutes.

43/52: a bliptronic day, video still 2

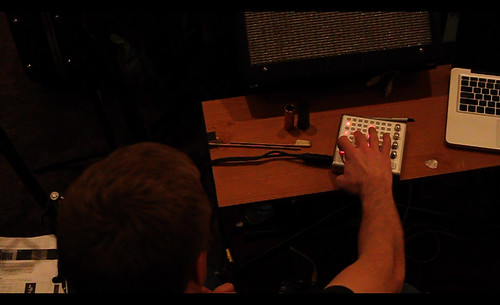
Later in the day, I retreated to a great space in the school I work at to play for a few more minutes. Since my school used to provide a full range of services, including hearing tests, there are a pair of soundproof rooms, complete with ancient hearing test equipment!

43/52: a bliptronic day, video still

After band rehearsal at church, I snuck in a few minute of playing volume-pedal guitar along with the Bliptronic.

43/52: a bliptronic day, video still 4

I pulled over at a gas station on my way home and rolled down the window to get some night ambience along with the Bliptronic’s tones.

43/52: a bliptronic day, video still 5

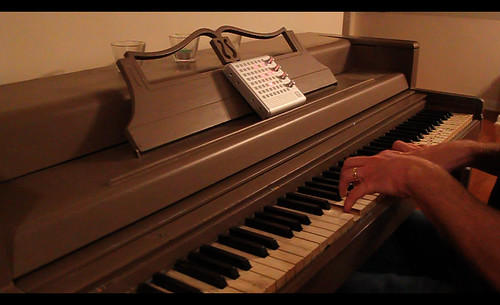
Upon arriving home, I propped the Bliptronic up on our piano and accompanied it with some dark minor-key chords.

43/52: a bliptronic day, video still 6

I ended up in my studio, where I brought things to a close. This was a really fun video, made possibly by Kent Kingery’s generous donation of a Bliptronic 5000. Thanks again, Kent!

42/52: Bliptronic 5000!

Last week, my good friend Kent Kingery blew me away by sending me a Bliptronic 5000, which is an incredibly fun little synthesizer+sequencer. This week’s project is an exploration of this great little box.

For starters, here’s a quick proof-of-concept track I made with the Bliptronic.

42/52: bliptronic 5000 test run by billvanloo

To make this, I ran the Bliptronic into Ableton Live, recorded a loop, and then processed that loop in a couple different ways and added some simple drum programming. For example, the bassy part is actually the same loop sent through one of Michael Norris’s excellent SoundMagic Spectral Plugins.

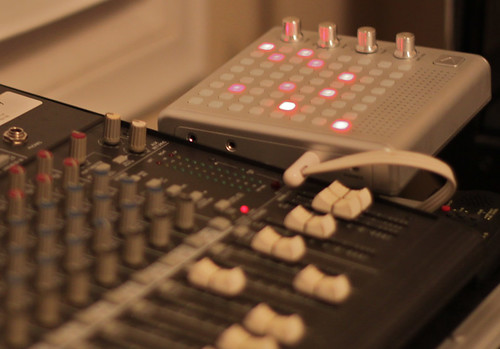
Here are some photos of the Bliptronic arriving and getting put into action. I was surprised at first by just how small it is – even in its box it was only 8 inches square, and the actual machine is smaller than that – maybe 6 inches square!

Bliptronic 5000

I started out by just using the internal speaker (a nice touch – lets you use it anywhere!) and then ended up plugging it straight into the mixer so I could hear it through my studio monitors.

Bliptronic 5000

Blinky lights!

Bliptronic 5000

Before long, I started itching for ways to process it and expand its tonal capabilities. It has 8 built-in sounds, and lets you sequence 8 notes in the key of C major across 8 steps. The limitations of this are actually quite good in many ways, but I wanted to see what I could do with some processing.

I ended up running it into Ableton Live and building a couple of Effects Racks to process the sound. I recorded the audio output of the Bliptronic into Live, then started playing with ways to filter, delay, and otherwise mangle the sounds. It was great fun!

Ableton Live session for 
Bliptronic 5000

I have a few things planned for this box already – a video project is in the planning stage, and there are lots of future possibilities, including turning it into a cheap Monome clone, circuit-bending it (as my friend Michael Una has done), and so on.

Thanks again, Kent! This was a great, fun project!

14/52: chromedecay: field – demo 1 (bicycle & garage sounds)

This week’s project has been in the works for quite some time, but is just now being picked up again. It’s a demo of some new sound/preset work I’ve been thinking about for a long time. I’m calling this first set of material chromedecay: field.

One benefit of being a teacher is that I have my summers off, and I spent some time this past summer with my Minidisc recorder, binaural microphones, and other recording gear, capturing sounds in my house and garage.

recording bike sounds

One of the sets of sounds I recorded was using my bicycle as a percussion instrument, along with some other random sounds from the garage (like dropping and hitting a plastic pop bottle, and so on). I recorded about 30-45 minutes worth of raw sounds, and then recorded them into the computer as several long, continuous audio files.

14/52: Logic - Overview

At that point (late last summer), that’s where I put the project down temporarily. The work I did this week was to start isolating individual hits and loops in order to turn them into usable sounds. Because I’d recorded the long segments off the MiniDisc into Logic, I started there. Also, I much prefer cutting/editing sound files in Logic compared to Live – Logic’s much more of a traditional audio editor, and I find it works great for that kind of work.

Much selecting, trimming, and saving of individual files was done.

14/52: Logic - Sample Editing

You can see some of the list of files here:

14/52: Logic - Sound List

After I had saved out many, many individual hits and loops, I started loading things up into Ableton Live, my preferred composition tool. Live is the ultimate destination for this material, as I intend to eventually make these sets of sounds & loops available (though that’s a project for another week!).

Here’s a couple views of what it looks like when brought into Live:

14/52: Ableton Live screenshots from sound design/programming

14/52: Ableton Live screenshots from sound design/programming

If you go to the full-size version of those photos, you can see that most of these sounds ended up in Live’s Drum Racks, which is a great tool for this kind of thing.

I then spent some time writing a demo track that would give these sounds a chance to shine.

14/52: Bill Van Loo working on sound design in Ableton Live

Here’s the final product:

14/52: chromedecay: field – demo 1 by billvanloo

All the sounds you hear in the demo track were produced from the field recordings I did, with the exception of the bassline.

11/52: DIY USB foot controller, part 1

For this week’s project, I decided to turn an old wireless USB number pad into a foot controller for Ableton Live. Here’s what I started with:

IMG_0654

I was partially inspired to take on this project after seeing this thread on Create Digital Music last year:

Sexy DIY Footswitch for Music, Using the Brain of a USB QWERTY Keyboard

I’ve played with the idea of re-using USB devices as Ableton Live controllers in the past; check out my custom USB QWERTY keyboard as an example. This time around, I thought I’d take advantage of the wireless connection of the number pad and also do some proper soldering and re-housing to make this project even cooler. As a result, this is part one of this project. I hope to have part 2 completed in a few weeks (I have a special 2-part “52 things” set of projects coming up that will delay it a bit).

My eventual plan is that this will become a thin 4-button controller for Ableton Live; something that can sit right in front of my Line 6 Pod XT Live guitar interface. I am toying around with the idea of using the NUM LOCK key to create the ability to have 2 banks of buttons in one, but that will get explored in the prototyping stage.

I began by looking at what I was working with. As it turns out, the wireless USB receiver for the number pad is too bulky to allow another USB device to be plugged into the laptop at the same time, so I decided to hack an old Apple USB keyboard extension so it would work.

IMG_0640

The Apple USB keyboard extenders have a little nub inside them to prevent them being used for anything besides a keyboard, but a little work with the Dremel cutoff wheel and a pair of pliers got rid of the extra plastic and the nub.

IMG_0645IMG_0647

Now the receiver fits just fine on the end of it.
IMG_0650

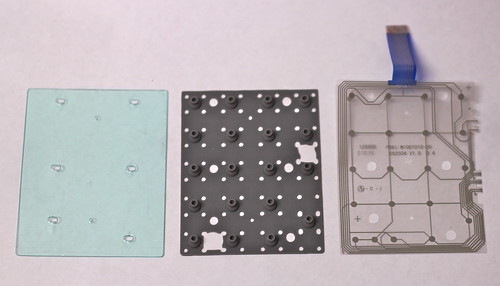
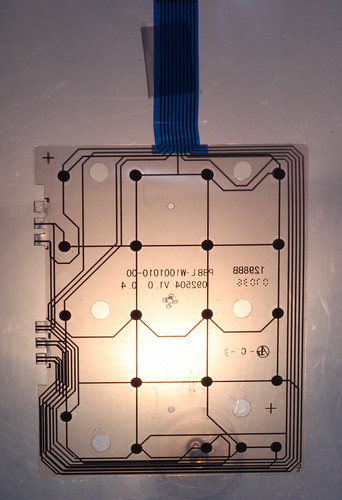
After getting that squared away, I began disassembling the keypad. Here are some photos from that process; you can check out the complete set of disassembly photos on Flickr.

IMG_0662

IMG_0676

IMG_0708

I’m planning on housing it in a custom steel stud enclosure, as shown on this site:

Steel Studs and the $0.25 Effect Enclosure

That’s all for this week. As mentioned, the remainder of this project will be delayed a bit, as I’m going to be doing a special 2-part set of 52 things projects for weeks 12 and 13.

5/52: iBook instrument station

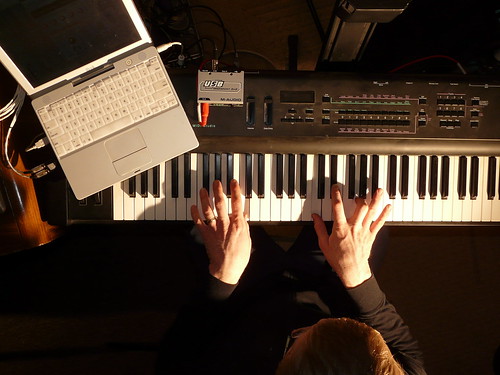
This week, I spent some time setting up a new instrument station in the chromedecay studio.

5/52: iBook & Reaktor/Logic instrument station

A few years ago, I replaced my trusty titanium PowerBook with a shiny new Intel MacBook. That brought lots of increased power, but as I mentioned in the post at the time, it meant losing some things I really liked as a result of moving from the PowerPC-based PowerBook to the Intel-based MacBook. My favorite Rhodes electric piano sound came from Logic’s EVP73 plugin, which didn’t run on Intel Macs. One of my other favorite sound sources was Reaktor Session, which I loved for its Vierring ensemble, among others.

logic: evp73 screenshot
reaktor: vierring screenshot

This week’s project, then, was getting an old 500MHz iBook set up to restore that lost functionality! I realized that I could install my old Logic Audio 6 on the iBook and set up EVP73 and Reaktor Session running inside it as AudioUnits plugins. I only get a couple instruments at a time, but that’s perfect – I’m still running Live 7 and Logic 7 on my MacBook Pro, and the audio from the iBook just gets routed straight into that.

Getting Logic installed and set up was a breeze – this is one place where having dongle-based copy protection makes this much easier than a networked challenge/response or authorization. I just plugged in my old Logic dongle, installed the program off CD, and I was up and running. Getting Reaktor Session going was a little more work – it uses a network-based authorization scheme, and I had to email Native Instruments support to get it authorized (to their credit, they turned it around in a day or two and it was quite simple after that).

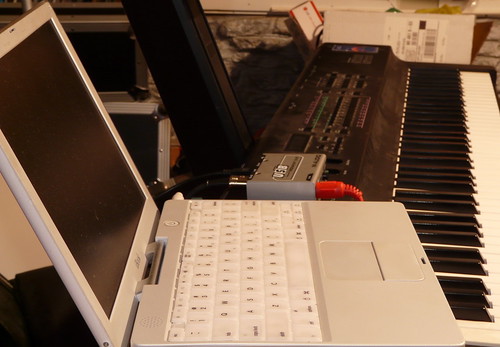
What I now have is an instrument station that consists of the iBook running Logic 6 with EVP73, Reaktor Session, and any other native Logic instruments I care to load up. It’s got a little 2-in/2-out MIDI interface connected over USB (thanks again, Kent!), which lets me connect my 76-key controller keyboard, as well as MIDI clock sync from the MacBook Pro rig. I can sit down at the keyboard, pull up a great Rhodes sound on the EVP73, and just play. That’s what I was really missing – the chance to just play, without having to worry about routing, plugins, compatibility, and so on.

Here’s a quick jam I recorded last night. The electric piano sound comes from EVP73, the synth sounds are from Reaktor Session’s Vierring ensemble, and the drums are being programmed in Live with a Drum Rack I built.

[audio:https://www.chromedecay.org/wp-content/uploads/2010/01/5_52_-rhodes-+-reaktor-session-jam.mp3|titles=5/52: rhodes + reaktor session jam]
download this audio track: 5/52: rhodes + reaktor session jam

A few detail photos:

5/52: iBook + 76 keys

5/52: iBook snake detail

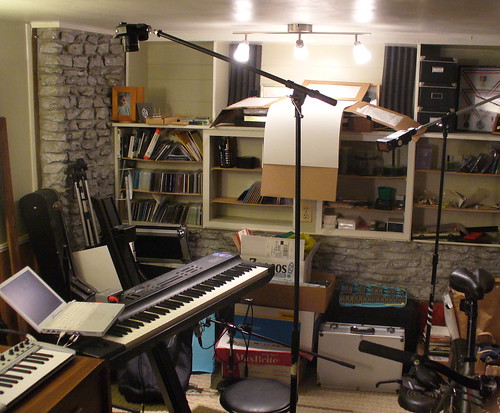
Finally, if you’re interested, here’s a setup shot, showing how I took the self-portrait that’s at the top of this post:
5/52: setup shot for Bill Van Loo iBook instrument station portrait

The camera for the shot (a Panasonic Lumix DMC-FZ18) is on a microphone boom stand, angled down using a Manfrotto mini ball head. The main light for the portrait is a Vivitar 283 with a 1/2 CTO gel (shown at the right of the photo), also on a microphone boom stand.

Also, you can see that the far end of the studio there is a bit of a mess. That’s another kind of project, though…